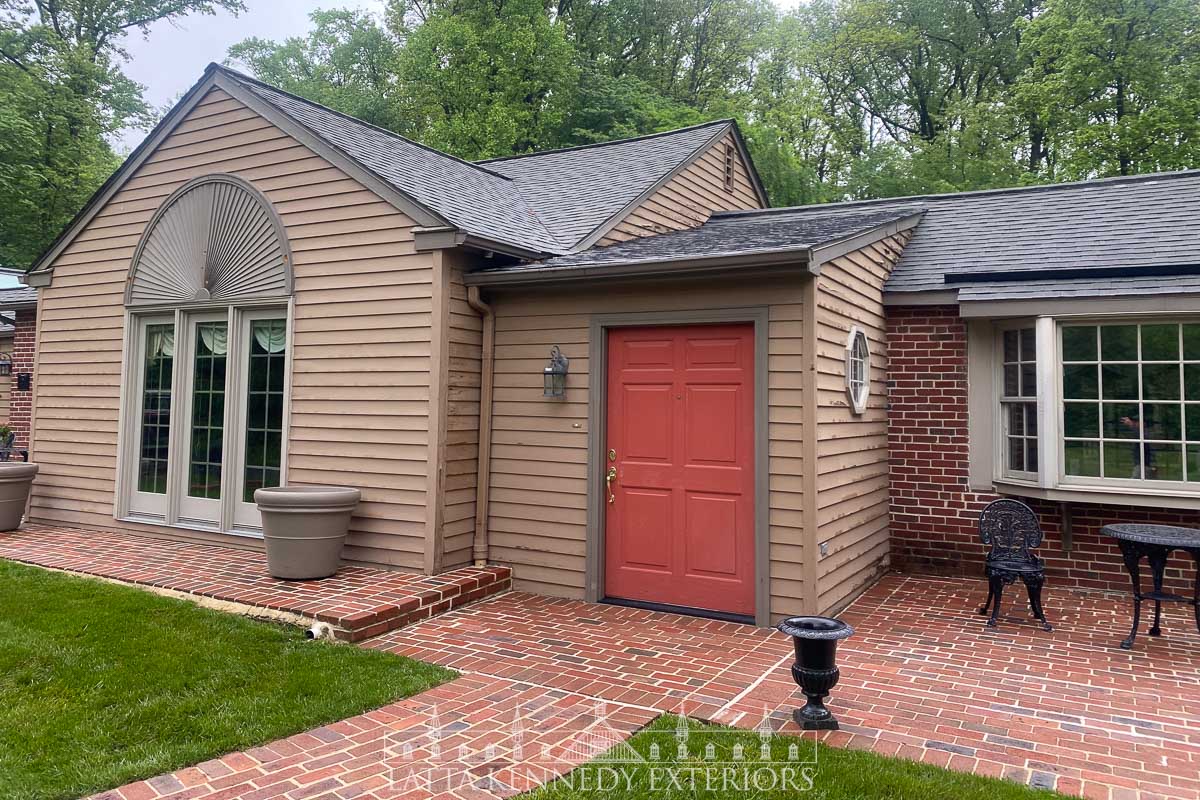
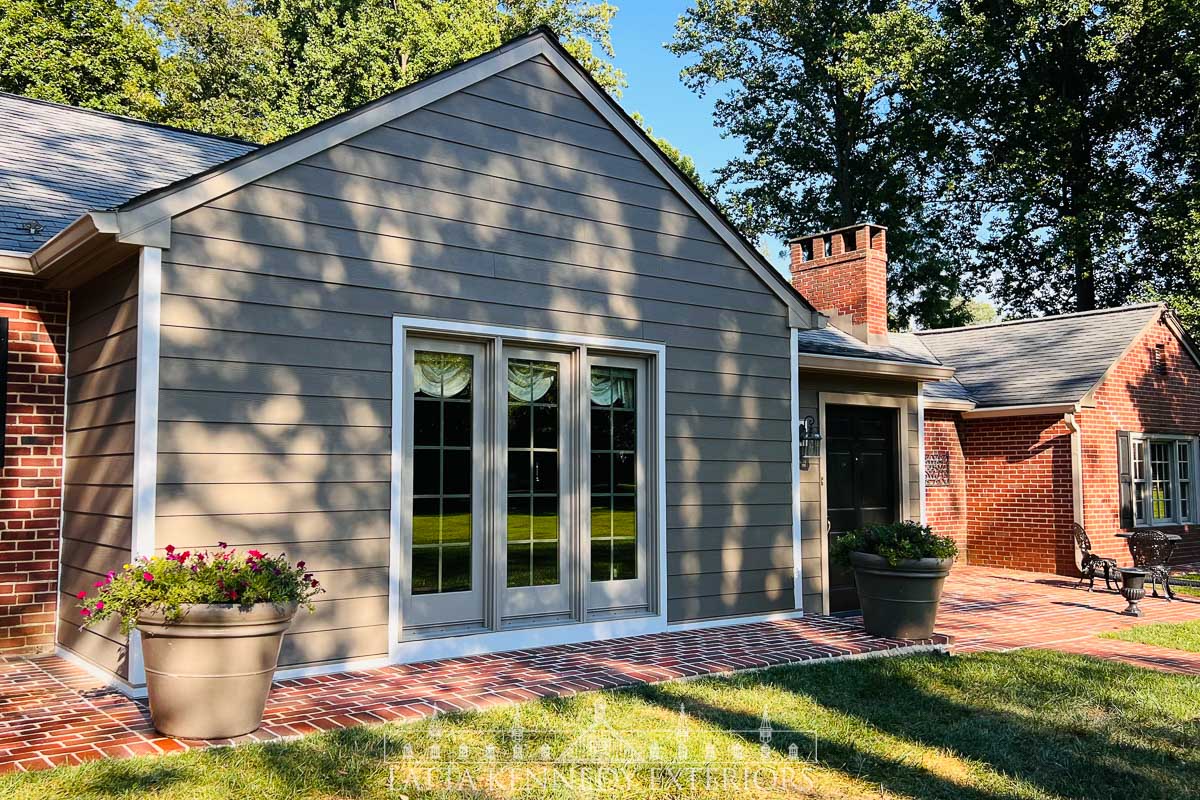
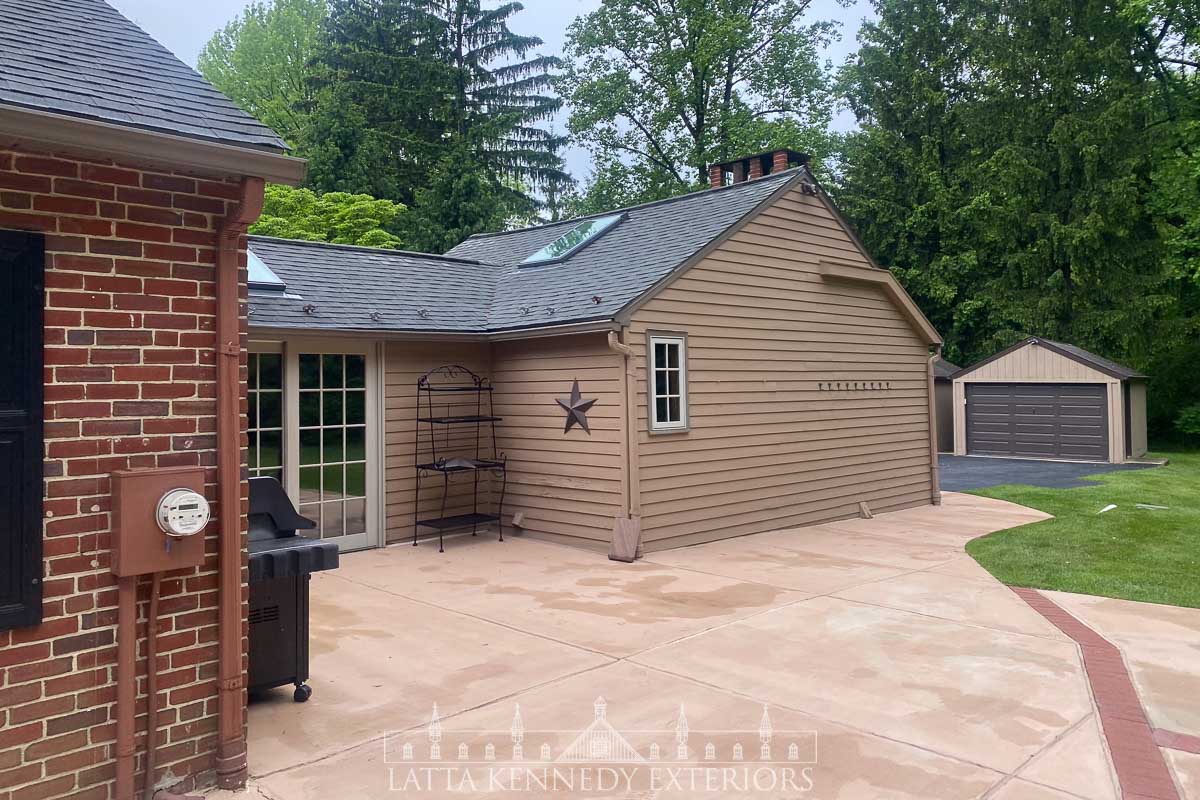
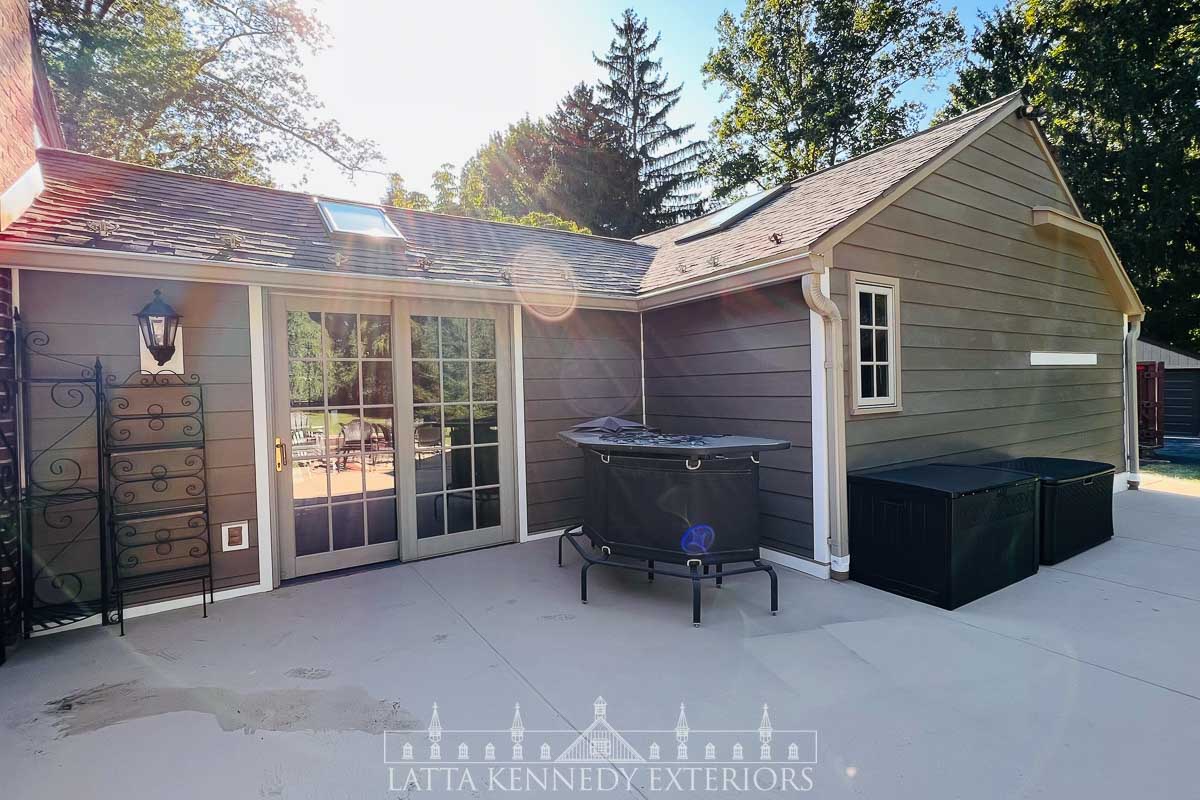
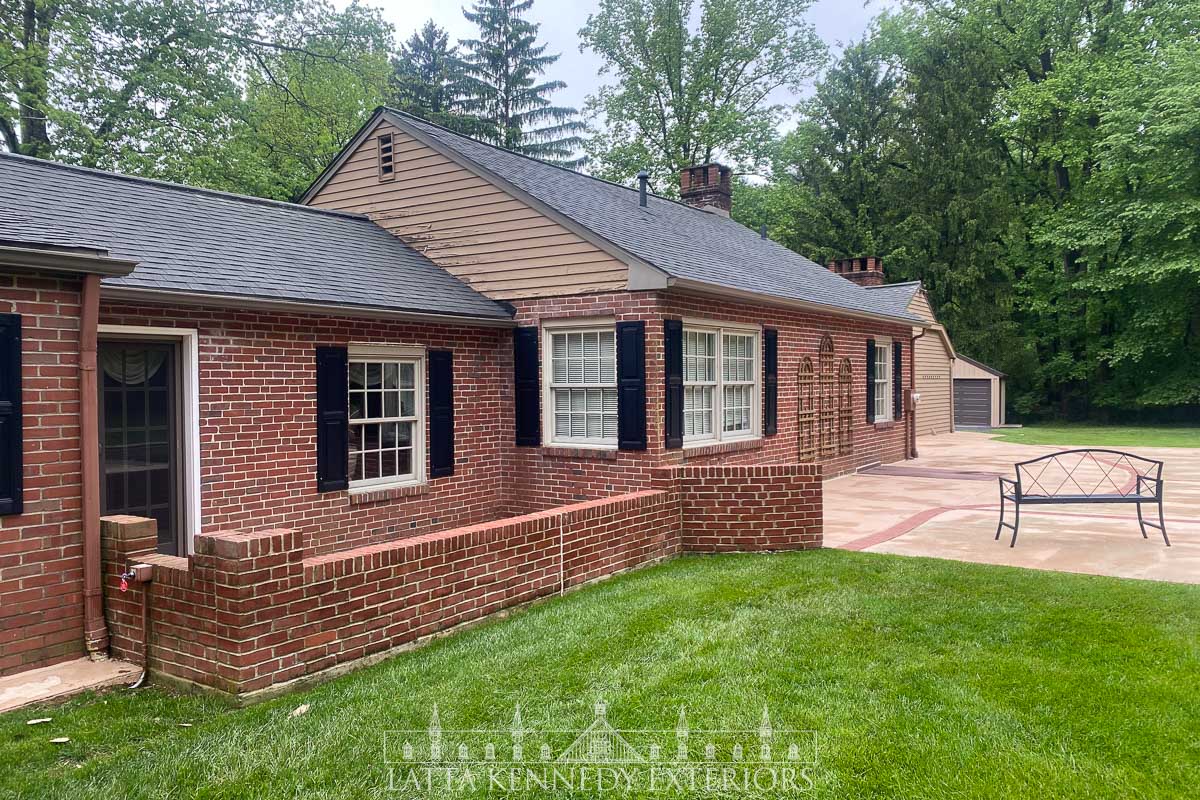
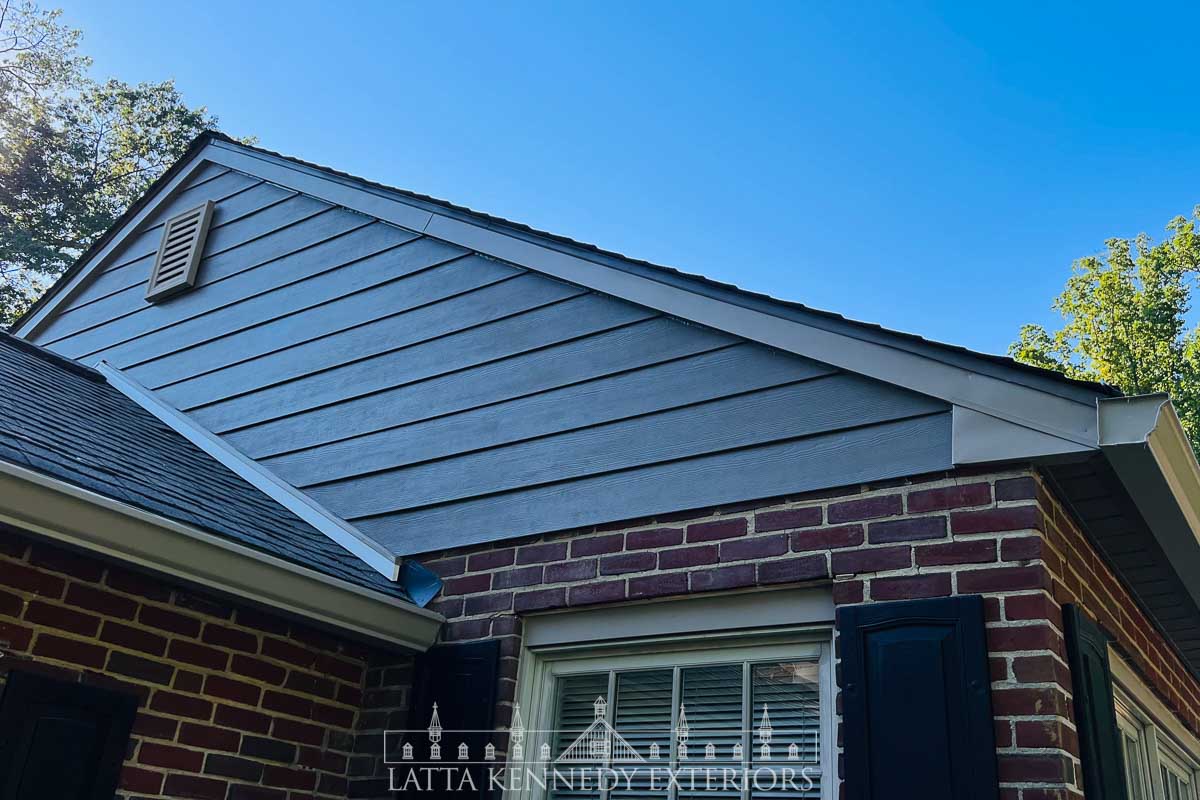
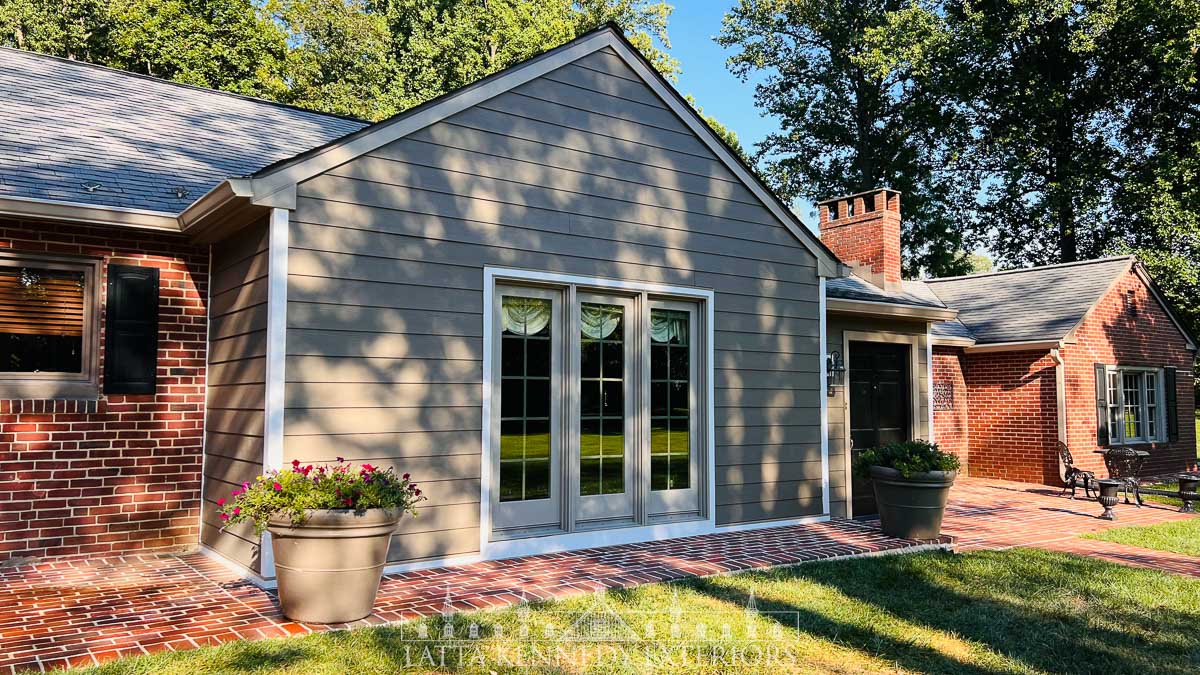
This tasteful home is in beautiful Malvern, Pennsylvania. New Pre-Finished James Hardie 8-1/4” Cedar Mill Lap Siding in Khaki Brown was installed. All transitions and corner posts received AZEK Trim boards. To complement the new siding, all rakes, facias, window and door trim received new custom fabricated Arctic White Aluminum Trim Coil. This home also received new 6” K-Style Seamless, White Gutters and 3”x4” White aluminum downspouts.
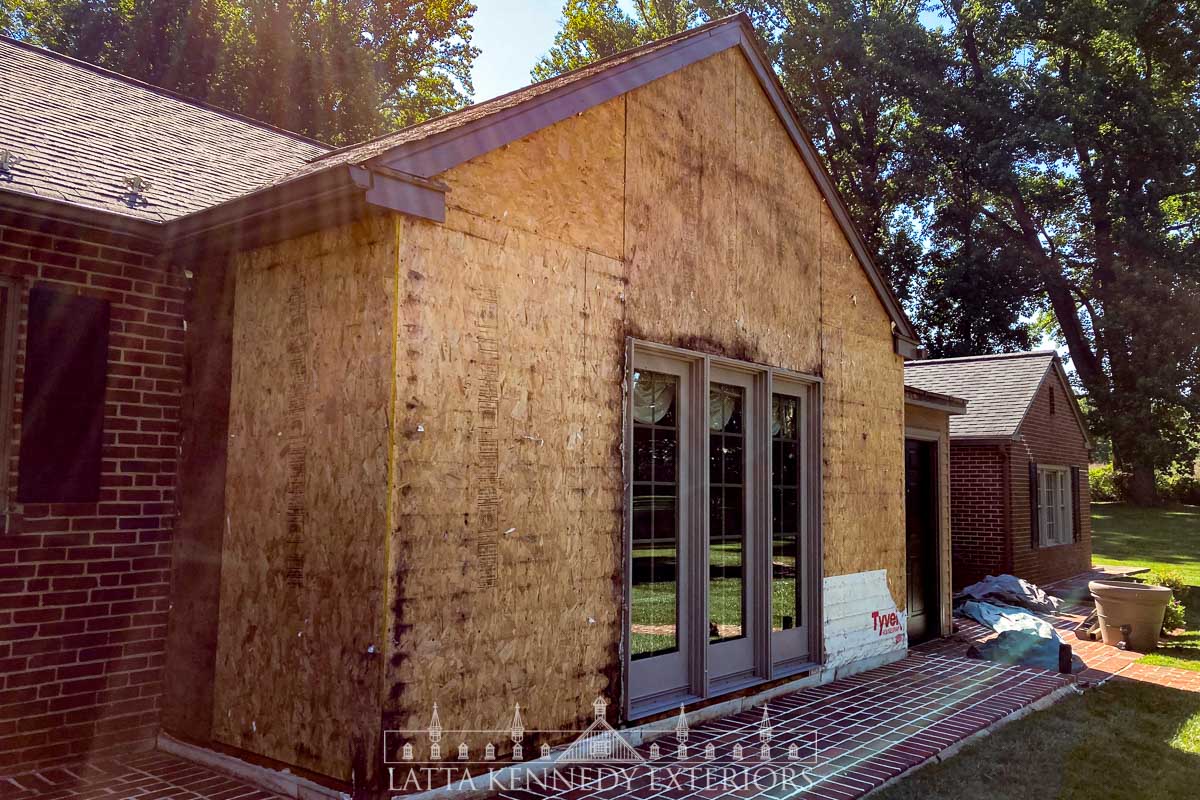
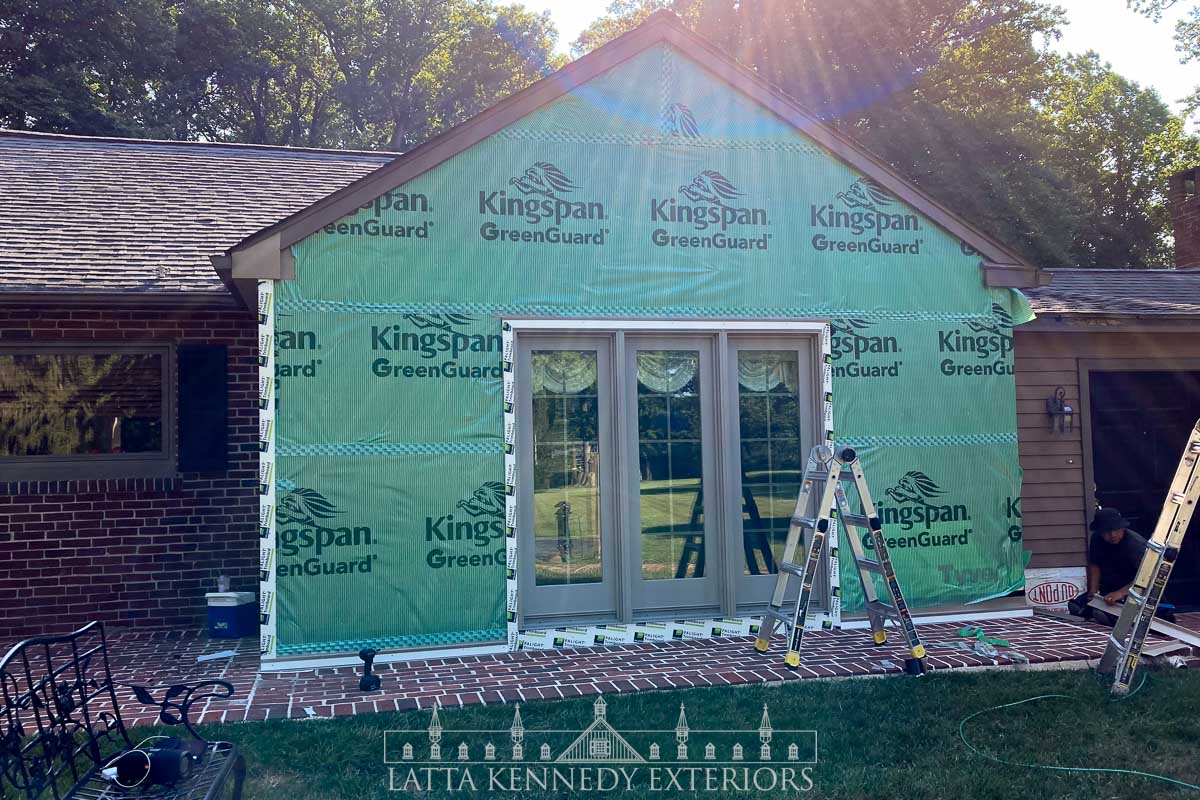
To start the project, we determined the best place for the materials, dumpster and porta-potty to be stored. After receiving the project components, we then began to set up ground protection, ladders, and planks on the front side of the home. Our controlled remediation then began on the wood siding. We carefully removed the existing siding and removed any loose nails. Following this, the existing Celotex sheathing was thoroughly inspected. All the sheathing on this section was structurally sound and did not require any pieces to be replaced. We then began flashing details around the bottom perimeter. Custom aluminum flashing was bent along the bottom, to promote positive drainage. This was installed with hand nails and flashed with flashing tape. House wrap with overlapped and taped seams were the next items installed. PVC Trim board were installed around all window & door openings to add some curb appeal.
One location, where two eaves overlap, had a significantly deteriorated piece of plywood, which we replaced. PVC details were then installed to the remainder of front perimeter, as well as corners and mounting blocks. Following this, PVC received custom drip caps and were flashed throughout. The bay window was then wrapped with custom aluminum capping and installed using trim nails. Bay window brackets were then encapsulated with PVC and installed with stainless finish nails. J-channel was run under eaves and new soffits were installed using zip screws. Once these details, on the front, were completed we began to install Hardie siding, using ring shank coil nails. Each cut edge was sealed, and joints were flashed with aluminum.
Hardie installed then continued and was fastened using exterior ring shank coil nails, sealed, and flashed throughout. A new custom was bent and installed to rakes and fascia, using trim nails. The remainder of the soffit was installed, as well as a couple gutter and downspouts. New 6” K-style gutters were installed using hidden hangers and fasteners. Downspouts and leaf guard were installed using ½" stainless steel zip screws. Gutter endcaps, outlets and miters were thoroughly sealed with gutter rubber. To finish out the day, we performed a thorough jobsite clean-up and garden/yard magnetization.
We continued to remove existing wood siding from the front of your home. Once the existing siding was removed, we inspected the sheathing. In this section, three sheets of plywood were deteriorated and required pieces to be replaced. We then began our flashing details around the bottom perimeter, to promote positive drainage. This was installed with hand nails and flashed with flashing tape. House wrap was then installed, and all seams were taped. PVC trim board was then installed along the perimeter, using cortex screws and plugs. Windows, doors, rakes, and fascia boards then received new custom aluminum capping and were flashed throughout. Hardie board installation then continued, using ring shank coil nails. J-channel and soffit were also installed under eaves.
We then finished aluminum capping and Hardie installation to the front of the home. The cut edges of Hardie were sealed with color match paint and joints were flashed with aluminum. Hardie to PVC transitions were then sealed with color match caulk and brick to PVC was sealed with clear sealant. We then began our controlled demo to the existing siding in the rear. Once the existing siding was removed, we inspected the Celotex. All pieces were structurally sound and did not require any pieces to be replaced. We then prepared the rear wall for Hardie installation. Custom aluminum was installed along the patio and flashed throughout. PVC transitions were then installed with cortex screws and received custom aluminum drip caps. House wrap was then installed, and all seams were taped. Custom aluminum capping was then bent and installed to windows, rakes and fascias. The remainder of gutters and downspouts were also installed to the front and sealed throughout.
We then removed the remaining existing siding from the rear of the home. Once the siding was removed, we inspected the sheathing. One location, along the roofline, required a piece of sheathing to be replaced. Please note that removal and installation of (1) new sheathing will be an additional charge. We then began to prepare the final locations for Hardie siding. PVC was run along transitions, corners, and blocks and each received drip caps. House wrap was then installed, and all seams were taped. Custom aluminum capping was then bent and installed to windows, rakes and fascias. Hardie installation then occurred, and each cut piece was sealed, and joints were flashed. All transitions were then sealed with caulk. Gutters, downspouts, and leaf relief were also installed around the home, using hidden hangers and zip screws.
The remainder of rear PVC transitions and door trim was installed using cortex screws and plugs. We then finished installing Hardie Boards to the rear wall, using ring shank coil nails. The cut edges and joints were properly sealed, and all transitions were sealed with caulk. The remainder of gutters, downspouts and leaf relief were also installed around the home, using hidden hangers and zip screws. To finish out the day, we removed the front gable vent and replaced it with a new Hardie siding.
We carefully removed lights from the three garage rakes. Following this, we began to custom bend aluminum coil to fit the rake exposures. Once bent, we installed capping using stainless trim nails. Once the garage capping was completed, we reinstalled the lights. We then sprayed the beehive, within block masonry, and sealed the opening. We then readjusted the small gutter section, to promote positive drainage. To finish out the project, we performed a thorough job-site clean-up, garden/yard magnetization, and removed excess material from the jobsite.
Another extremely satisfied homeowner, on to the next exciting project!
